By Tammy Thornton
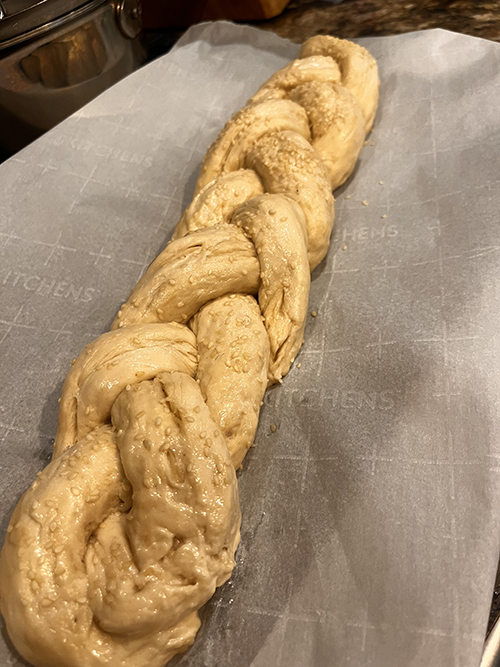
Who doesn’t love the aroma of freshly baked bread wafting through the air? Making your own homemade bread may seem like a daunting task, but it’s actually very easy, quite forgiving, and extremely gratifying. Every once in a while I get on bread-making kicks and have enjoyed experimenting with different types of focaccia filled with garlic, rosemary, and other herbs. Recently, I made a rounded loaf of bread in my Dutch oven, and it looked like it came from a bakery. My latest attempt looks like I stepped it up a notch with a sesame-topped braided loaf, but in reality, only one extra step elevated this bread to the next level.
You really don’t need any special tools for baking homemade bread, but using baking parchment paper will provide a nice nonstick surface for your bread to bake. I also use parchment paper on my counters when kneading or rolling out the dough, making clean-up a breeze. Of course, you will also need to have yeast to help your bread rise. Since I like to have the ingredients available whenever the mood hits, I keep a jar of yeast in my refrigerator. You can also use the packages of dry yeast and cut off a pre-measured packet as needed. These unopened packets do not need refrigeration. I have a particular bowl that I like to use when mixing my dough, because it has a very down-home look to it, but you could even dump the ingredients into a large ziplock baggie, and your bread will come out fine.

One of the only difficult parts of making yeast bread is the wait. You need to allow the dough to rise, preferably multiple times for the best results. But most of this time is not hands-on time. You can throw the ingredients in a mixing bowl (or baggie), mix them up, and walk away. Just like pizza dough, the flavor can be enhanced if you let the dough rest overnight. This is when a baggie comes in handy. You can dump the ingredients in the bag, shake and squish everything together, place it in your refrigerator, and forget about it until the next day. When using this method, take the dough out of the refrigerator and allow it to come to room temperature before moving on to the next step. The baggie won’t take up much space in your refrigerator, and you can make multiple loaves in different bags to bake at the same time. One for you, one for a friend!
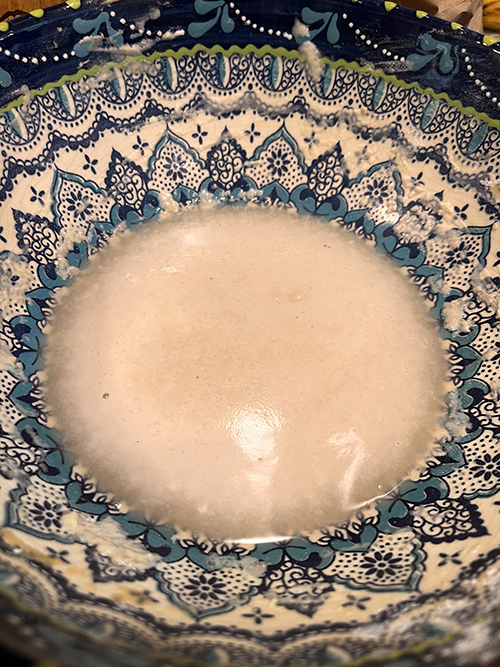
Though I’m including the instructions for my latest attempt at making braided bread, you may want to experiment yourself. Perhaps you will find that a little more or less salt or sugar suits your taste. I always use the term “recipe” lightly, because I’m always trying different recipes and tweaking them to see what works best for me. Keep in mind, though, that each ingredient does have a purpose. While honey and sugar can enhance the flavor, they also serve to feed the yeast and promote a better rise. Yeast can expire, which will keep your bread from rising. You can test or “proof” your yeast by mixing it with warm (not hot) tap water. After about ten minutes, the yeast should have a slightly foamy appearance, which means the magic is starting.
Pour one cup of warm tap water into a bowl, then stir in one tablespoon of sugar and one tablespoon of honey. Mix well until the sugar and honey dissolve. Sprinkle one tablespoon of yeast over the water. Wait five to ten minutes to allow the yeast to “bloom” and become foamy. Next, add 1 1/2 teaspoons of salt, 3 cups of flour, and 1/3 cup of extra virgin olive oil. Mix all of the ingredients until well blended. Cover with plastic wrap and allow the dough to rise.

At this point, I like to place the bowl of dough in a warm spot, such as a barely warmed oven that has been turned off. You can also place your dough in the refrigerator overnight and take it out to rise the next day. Allow the dough to rise for half an hour, then punch it down, stretch it out from all sides, and allow it to rise again. Be sure to cover the bowl with plastic wrap or a clean tea towel. Once your dough has risen a second time, spread a piece of parchment paper on your counter and dust it with flour. Split the dough into three even pieces and roll each piece into a rope about 10-12 inches long. Braid the three ropes into one loaf, tightly securing each end to itself. Brush with an egg wash using one egg white mixed with a little water, then sprinkle with sesame seeds. Place the braided dough and parchment paper onto a cookie sheet at an angle and allow the bread to rise for another ten to twenty minutes, then bake at 350° for 40 minutes.
Your house will smell like a wonderful bakery. When you’re done, you can take a bow and pat yourself on the back. Allow the bread to slightly cool, and think about all of the other wonderful things you are capable of now that you learned to bake bread! We would love to hear from our readers. Send your comments and questions to shorelocalgardener@gmail.com.
Tammy Thornton lives with her husband, children, and crazy pets while enjoying a life of gardening, cooking, and going to the beach.


