By Lisa Zaslow Segelman
There’s something about preparing desserts for an occasion one day, one week or even one month in advance that builds the excitement and makes the whole celebration that much sweeter.
And speaking of sweet, one of my favorite ways to add innovative décor and a fun, delicious, creative dessert for a big bash is to make lollipop cookies that tie into the theme name, or type of occasion. You don’t have to be a pastry chef for a decent outcome either. You just need to be able to make sugar cookies, read and write.
Lollipop cookies can be the type you can buy in Starbucks –those small baked balls on a stick, which are a nice few bites but the ones I bake are round sugar cookies baked on a stick that are iced and decorated.
These can be ordered from specialty bakers and yes, they come out perfect. These folks are most likely artists or bakers or both, and the results are amazing, but so is the price. It may be worth splurging for a really special occasion, but for your garden-variety child’s birthday or milestone celebration where you want to save a few dollars, you can do it yourself. Do it in advance, and bask in the glory of party guests telling you how cute and delicious they are, and “can they take one home for so-and-so?” And yes, they can be individually wrapped and double as truly wonderful party favors.
Let’s get started!
Sugar Cookie
Lollipop Dough
Makes 32 Cookies
(more if choosing a smaller
cookie cutter circle)
Ingredients:
- cup softened, unsalted butter (2 sticks)
- cup granulated sugar
- teaspoon vanilla extract
- 1/2 teaspoon almond extract
- tablespoons heavy cream
- 1 large eggs
- cups all-purpose flour
- 2 teaspoon baking powder
- ¾ teaspoon sea salt
Lollipop Sticks 6”-8” (Amazon, 100 6” sticks for $5.99, or Michaels)
Method:
Make the Cookie Dough
- Lay out your cookie sheets and cover in parchment paper.
- In the mixing bowl of a stand mixer (or a handheld mixer and large bowl) cream the butter and sugar together on medium speed for about 4 minutes until light and fluffy. Add the heavy cream, vanilla and almond extracts.
- With the mixer on low, add the flour and salt slowly. The dough should form a single ball. Make four smaller balls out of the single ball, wrap in wax paper or saran wrap, and refrigerate for one hour.
Roll the Dough and Cut Out the Circles
- Take balls one at a time out of the refrigerator to begin rolling them out to form the cookies. Using a scant amount of additional flour, sprinkle on a clean surface or board and roll the dough into a large circle about 3/8 inch thick. You want the stick to have a thick enough cookie to support it. (You can also roll it between two sheets of parchment paper).
- Use a round glass or cookie cutter with the desired diameter, 3-5” and make your rounds. The larger it is, the more room you have to write or decorate. Hearts, stars and other shapes can be used as long as they can accommodate the lollipop stick.
- Place a lollipop stick through the center of your dough shape but more toward the edge. Make sure stick is covered with dough, pinching the dough with your fingers to cover the stick. Place the lollipop cookies on your prepared cookie sheets. Repeat with the remaining dough.
- A spatula might help lift the cookies but be aware of the stick and be sure to keep them intact. Space cookies at least 2-inches apart on the cookie sheet.
- Preheat the oven to 350 degrees 20 minutes prior to baking. Bake 10 to 12 minutes or until a little puffed and golden around the edges. Cool for 10 minutes; transfer the cookies to a cooling rack and let them cool completely. Now you’re ready to ice and decorate!
Make the Royal Icing
For the Icing:
Yield: 32 cookies, (more if smaller cookie cutters were used)
Ingredients:
- 3 cups powdered sugar
- 4 egg whites
- 3–6 tablespoons of whole milk or heavy cream
- ½ teaspoon almond extract
- ½ teaspoon vanilla extract
Method:
- Beat egg whites in a stand mixer until frothy for 2 minutes.
- Slowly mix in vanilla and sugar on low speed.
- Increase speed to medium/medium-high until a spoon inserted helps form stiff peaks.
- If you want a color besides white, you can add color at this stage one drop at a time. If you would like a few colors, separate the icing into smaller bowls, leave one white and add the desired colors into the other bowls, mixing well with a spoon.
- You can keep it simple by just using two colors, one for the background and one for the writing or decorations. The back of the McCormick box of food coloring gives the formulas for various colors.
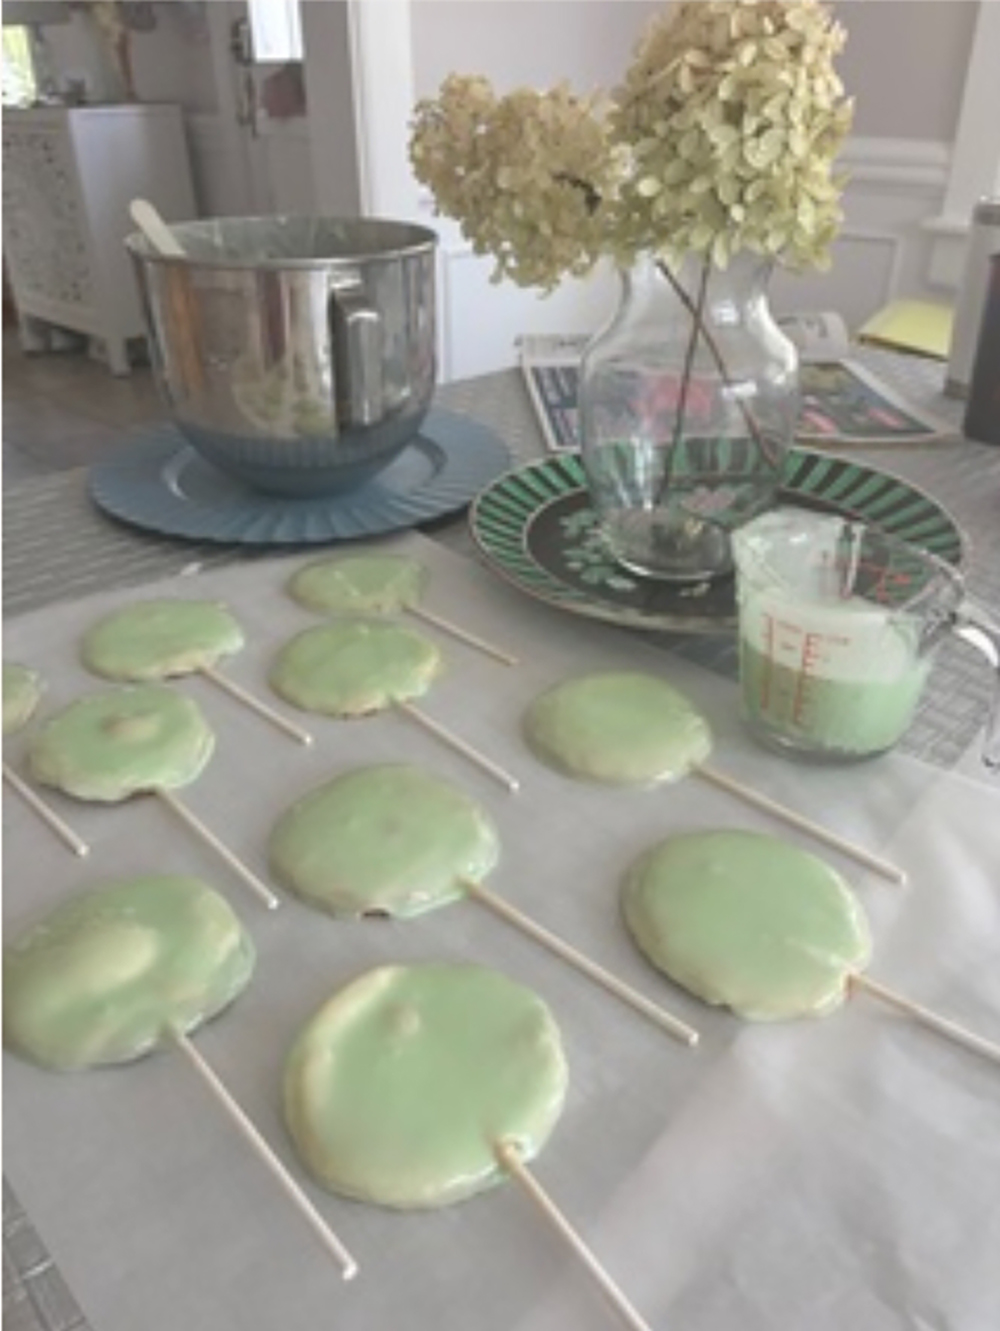
- For the background you can use a spatula and spread icing on each cookie as if you were icing a cake.
- For the writing or decoration, fill a pastry-decorating bag that comes with instructions for use. These can be found at Michael’s or Amazon, and aren’t expensive. Alternatively you can use do what as I do: Fill a freezer bag with icing and just snip off a corner, being careful not to make the hole too large or too small.
Allow to dry before adding a second color of decoration or writing.
- Allow the writing decoration step’s work to dry as well. I put mine on the dining room table. Icing should have a nice shiny finish.
A Few Notes
Icing can be tricky:
- Separate eggs when cold but then let the egg whites come to room temperature which allows them to whip up easier.
- Make sure to add the sugar slowly.
- If the icing starts to harden, add a few drops of water to thin it out.
- Gel food coloring is more concentrated, which means you can add less. Be careful with liquid food coloring as it can thin out the icing if you use too much.
Presentation
Lollipop cookies can be displayed for a party in drinking glasses, flower vases, or my favorite, a Styrofoam ring used for floral arrangements that has been painted or spray painted in your party colors, also available online or in a home goods store. Now you have a dessert and a decoration in one.
Lollipop cookies also make terrific party favors. Just wrap in cellophane and tie with nice ribbon. A fun and personalized idea is to write the names of all of the party guests on the cookies. People have fun looking for their names and taking their cookie home for a sweet remembrance of the party!
Lisa is an advertising copywriter (think ‘Madmen’ without the men), journalist and columnist. Claim to local fame: Lou’s waitress for four summers. To be a featured host in Coast-Host-Post or to get on her “quote” list for future columns, email: redshoeslzs@gmail.com