Let It Grow
By Tammy Thornton
Nothing sends gardeners into a flurry of activity like the first cold weather forecast. Worried plant parents, fretting over their babies, will haul pots of flowers back and forth between their gardens and garages wondering if their tender annuals will make it through the night. While some tender plants will survive fall weather until the first big freeze, many tropicals that grace our summertime gardens will succumb to the cold once temperatures dip below the 40s or 50s. One tactic would be to attempt to overwinter your favorite plants by bringing all of your potted plants indoors. But your house would soon look like an overrun greenhouse turned jungle. For a more manageable approach that will save you space and effort, take cuttings of your favorite plants.
In addition to saving plants that would otherwise die over the winter, propagating plants from cuttings is also an effective method for increasing your plant population. By creating multiples of the same plant (virtual clones) you can preserve a beloved plant and increase the odds of its ultimate survival. Once you delve into the world of propagation by cuttings, you will find that there are various types of cuttings as well as different ways to propagate them. We will discuss stem cuttings, which can be rooted in water or planted directly into soil.
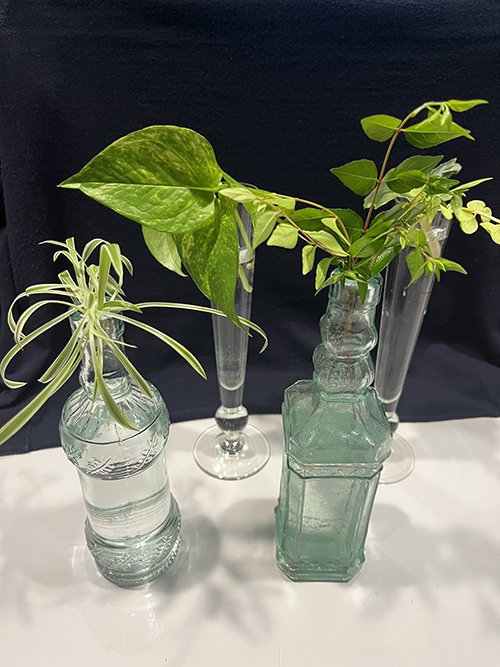
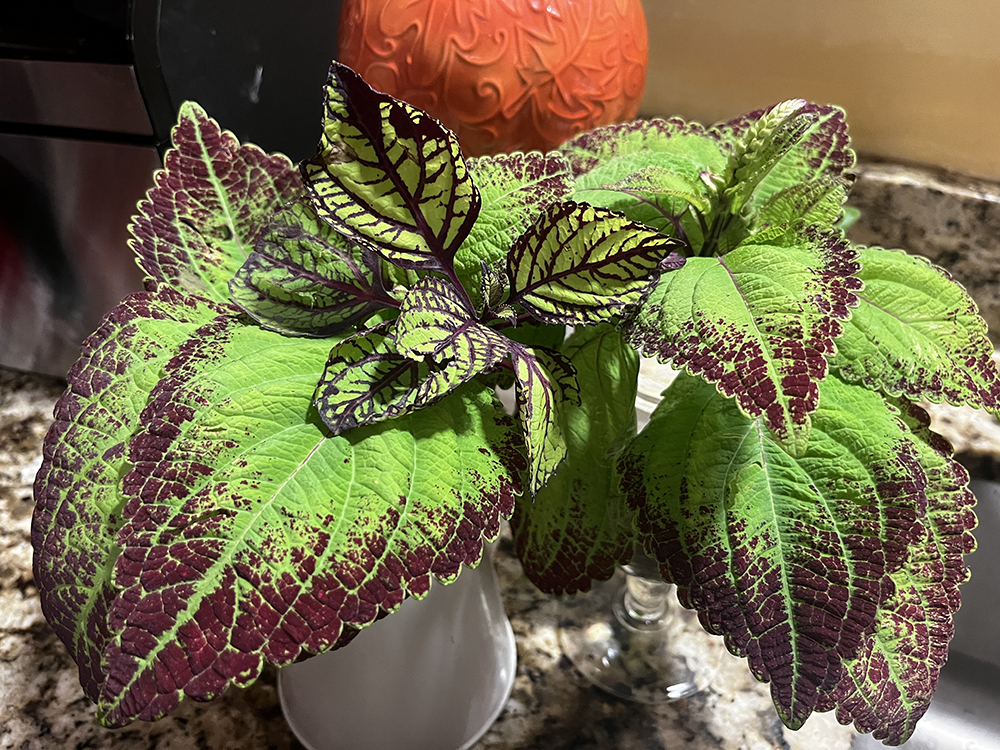
Rooting stem cuttings in water is my favorite way to create new plants. This method is very straightforward. Cut a non-flowering stem of the plant you wish to propagate just below the leaf nodes. Remove the lower leaves and immerse the stem in water, being sure that no foliage is below the water. Then you must have patience, because for many plants it can take a few weeks to see roots. Using clear glass jars will help you observe the progress of your plant babies. In the meantime, you can create a pretty little display from your cuttings and place them on a shelf or window sill out of direct sun. Once you are rewarded by seeing those hairy little roots, wait until they are 2-3 inches long before potting them up. After transplanting, keep them well-watered but also well-drained to prevent root rot. For some plants, you can leave them in water until spring. I have had success with keeping angel’s trumpet “sticks” in water all winter before planting them in pots outdoors the following spring. By then, they had wonderful, healthy roots. In my experience this has also worked well with forsythia branches and pussy willows. This fall, I’m hoping to preserve my coleus and begonia plants by rooting them in water. The vibrant foliage of the coleus will add color and life to my indoor fall decor. You can also use this method of propagation for houseplants such as pothos and lucky bamboo. Be sure to change the water every few days.
Another method of propagation skips rooting in water and uses a soilless mixture of perlite, vermiculite, and/or sand. Personally, I like to keep things non-fussy and simply use potting soil. With this method, start with a cutting such as a hydrangea cutting. As in the example above, cut a four to six inch stem just below a leaf node and remove all but two leaves. You can also cut these leaves in half crossways. We remove flowers and most of the foliage so that we help the cutting to focus its energy into creating roots. The night before you take the cutting, make sure your plant is well-watered.
Water your soil or soiless medium so that it is somewhat damp. Once you have prepared your cutting by removing the lower leaves, dip the end of the cutting into water and then rooting hormone. This is an optional step, but it will encourage your cutting to produce roots. Powdered rooting hormone can be found in garden markets and on-line. You only need a small amount, so it should last a long time. Do not dip the stem directly into the rooting hormone bottle to avoid contamination. Pour a small amount into a bottle cap or small container. Make a two inch hole in your soil with a pencil or chopstick, then insert the cutting and firm the soil around it. Create a humid environment for your cutting by covering it with a large baggie, making a mini greenhouse. Keep out of direct sunlight and remove the bag if too much moisture accumulates (creating mold). In a few weeks, you should see evidence of new growth. A slight tug on the stem will give you a hint of roots taking hold. But be sure not to disturb this delicate growth. Using a clear container helps you measure your success.
Experiment with different methods by taking several cuttings of each plant. Some plants will be more successful with water rooting, while others will benefit from being planted directly into the soil. For the gardener, winter is a time of research and development. Once you start propagating plants, your inner mad scientist may be unleashed and you’ll become a plant propagating fanatic. (My kind of people).
We would love to hear about your propagating successes and failures. Gardening is a never-ending learning process. Let’s learn together! Kindly send your questions, comments, and pictures to shorelocalgardener@gmail.com.
Tammy Thornton lives with her husband, children, and crazy pets while enjoying a life of gardening, cooking, and going to the beach.